
Connect Website Form to Yeevu Contacts
On this page
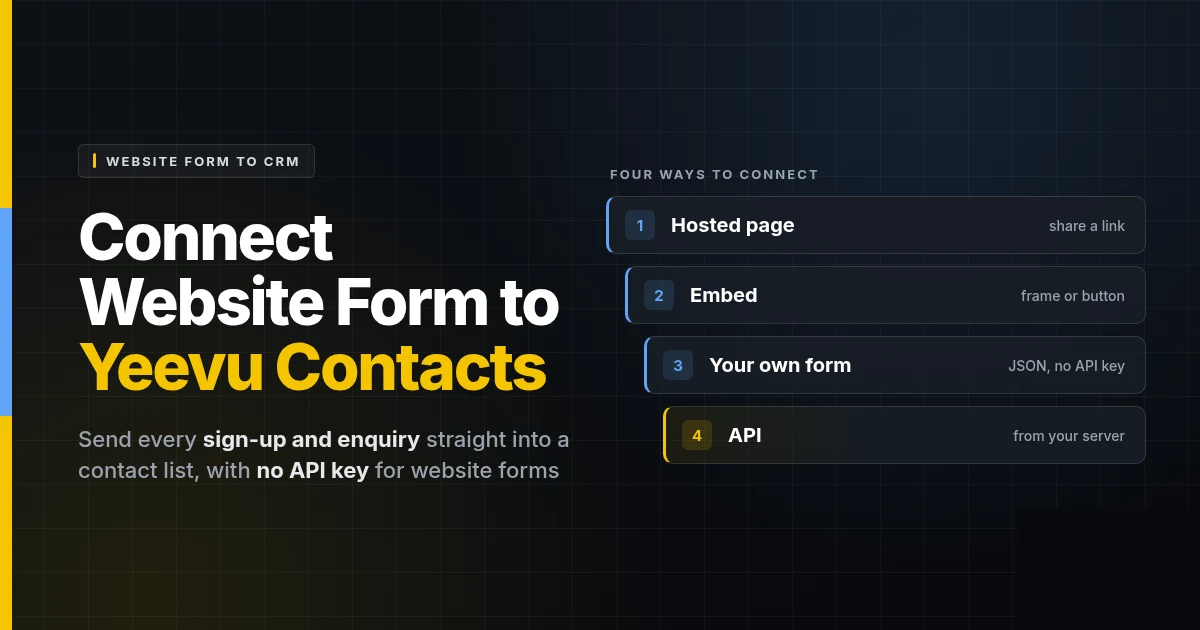
Connect website form to Yeevu Contacts and every sign-up or enquiry lands straight in a contact list. There are four ways to do it: share the hosted form every list comes with, embed it on your site, connect a form you already have (no API key needed), or send contacts from your own server. Yeevu Contacts is part of the Yeevu platform, and the same guide is in the app at app.yeevu.com/contacts/help/forms.
Which Way to Connect a Website Form to Yeevu Contacts?
| Option | Best for | Code needed |
|---|---|---|
| Hosted page | A sign-up or contact page you can share as a link, with no website needed | None |
| Embed | Putting the Yeevu form on your own website as a frame, a button or plain HTML | Paste one snippet |
| Your own form | Keeping the form you already have and its design, and sending entries to Yeevu | A few lines of JavaScript |
| API | Your server, app or automation tool adding contacts, with tags and extra fields | A server-side request with an API key |
Set Up the Yeevu Contacts List First
The hosted page, the embeds and your own form all post into one list, and that list’s form must be switched on.
- Open Lists and create a list for this form, or open an existing one.
- Go to the list’s Form / Landing Page tab and tick Enable hosted page.
- Choose the fields to collect. Email is always required. You can add Name, Company, Phone and Message. If you add Message, it becomes required.
- Write your Success message (shown after someone submits), then save.
- Set up alerts and an automatic reply on the Notifications tab. See Alerts and replies.
The list’s ID is in its address bar, after /contacts/lists/. You need it for your own form.
Share the Hosted Yeevu Contacts Form Page
Every list with its form switched on has its own page:
https://app.yeevu.com/contacts/f/<your list ID>
- Find the exact link under Share / Embed → Link on the Form / Landing Page tab.
- Pick a template (Blank, Newsletter signup, Contact us or Full landing page), then add your title, logo, description, button text and colour. Add a headline, image or feature list to turn it into a full landing page.
- Set a Redirect URL to send people to your own thank-you page after they submit.
- Turn on Require Cloudflare Turnstile if you get spam. It works on the hosted page, the frame and the button.
Embed the Yeevu Contacts Form on a Website
Open Share / Embed on the list’s Form / Landing Page tab and copy the snippet you want. Your list ID is already filled in.
Frame Embed for Form Layouts
Shows the form inside your page.
<iframe src="https://app.yeevu.com/contacts/f/<your list ID>" width="100%" height="520"
  loading="lazy"></iframe>
Pop-up Button Embed
Adds a button that opens the form in a pop-up and closes it after a successful submit. Change the label with data-button, and the colours with data-color and data-text-color.
<script src="https://app.yeevu.com/contacts/widget.js" data-list="<your list ID>" data-button="Contact us"></script>
HTML Form Embed
A complete form with its own styling, which you can restyle to match your site. It matches the fields you chose and includes spam protection.
The frame and button are for form layouts. For a full landing page, share the link instead.
Connect Website Form to Yeevu Contacts With JavaScript
Keep your own form and send each entry to your list with a few lines of JavaScript. Switch the list’s form on first, and tick every field you want to keep.
POST https://app.yeevu.com/contacts/api/f/<your list ID>/submit
Content-Type: application/json
Fields a Connected Website Form Can Send
| Field | Notes |
|---|---|
email |
Required. |
name |
Kept when Name is ticked on the Form tab. |
company |
Kept when Company is ticked. |
phone |
Kept when Phone is ticked. |
message |
Kept, and required, when Message is ticked. |
subject |
Optional. Becomes the subject of your alert email, so send a fixed value such as “Quote request”. |
honeypot |
Spam trap. Send the value of a hidden field people never fill in. If it has a value, the entry is quietly dropped. |
Other fields are ignored. To keep extra answers, such as a budget or a website address, add them to message, or use the API.
Example Website Form Connected to Yeevu Contacts
<form id="enquiry">
  <input name="name" placeholder="Your name">
  <input name="email" type="email" placeholder="Email" required>
  <textarea name="message" placeholder="How can we help?" required></textarea>
  <input name="website" tabindex="-1" autocomplete="off" aria-hidden="true">
  <button type="submit">Send</button>
  <p id="enquiry-status" role="status"></p>
</form>
<script>
  document.getElementById('enquiry').addEventListener('submit', async (e) => {
    e.preventDefault();
    const f = e.target, status = document.getElementById('enquiry-status');
    const res = await fetch('https://app.yeevu.com/contacts/api/f/<your list ID>/submit', {
      method: 'POST',
      headers: { 'Content-Type': 'application/json' },
      body: JSON.stringify({
        email: f.email.value, name: f.name.value, message: f.message.value,
        subject: 'Website enquiry', honeypot: f.website.value
      })
    });
    const data = await res.json().catch(() => ({}));
    if (res.ok) { f.reset(); status.textContent = 'Thanks, we have your message.'; }
    else { status.textContent = data.error || 'Something went wrong. Please try again.'; }
  });
</script>
Submit Endpoint Responses and Errors
| Status | Meaning |
|---|---|
| 200 | {"ok":true}: saved. A repeat sign-up from the same address also returns this, without creating a duplicate. |
| 400 | {"error":"Valid email required"} or "Message required". Show the error to the visitor. |
| 404 | {"error":"Form not found"}: the list’s form isn’t switched on, or the list ID is wrong. |
| 429 | Too many submissions in a short time. Wait a minute and try again. |
When someone who is already in your contacts submits again, Yeevu fills in any of their details that are blank and never overwrites what you already have.
Add Contacts From a Server With the Yeevu Contacts API
Use the API when your own server, app or automation tool adds contacts. It can also set tags and keep any extra fields.
- Go to Settings → API Keys, enter a name and choose Create API Key. Keys start with
yc_. - Settings → Developer shows your API address and ready-made examples.
- Send each contact with the key in the
Authorizationheader.
curl https://app.yeevu.com/contacts/api/v1/contacts \
  -H "Authorization: Bearer yc_your_key" \
  -H "Content-Type: application/json" \
  -H "User-Agent: my-app/1.0" \
  -d '{
    "email": "jane@example.com",
    "list_id": "<your list ID>",
    "name": "Jane Doe",
    "company": "Doe Bakery",
    "phone": "+1 555 0100",
    "source": "website",
    "tags": ["quote-request"],
    "budget": "2-5k",
    "message": "We need a new website."
  }'
emailandlist_idare required.name,company,phoneandsourceare saved on the contact. Any other field (such asbudgetabove) is kept with the contact as an extra field.tagsadds tags; ones that don’t exist yet are created.- The same email updates the existing contact instead of creating a new one. Fields you send replace the old values, fields you leave out are kept, and tags are added.
- The reply is
201 {"ok":true,"contact_id":123,"merged":false}for a new contact, or200with"merged":truefor an existing one. - Send a
User-Agentheader from server code; requests without one can be refused. - Automation tools that can make an HTTP request (for example a Zapier or Make HTTP step) can use the same call.
Form Alerts and Automatic Replies
Set both on the list’s Notifications tab. Changes save as you make them.
Alerts for New Form Submissions
- Tick Email me about form submissions. Leave Send to blank to use your login email, or enter another address.
- Forms with a Message field send you an alert for every message.
- For sign-up forms without a message, and for contacts added through the API, also tick Also when a new contact is added. You’ll get an alert for each new contact.
Automatic Reply to the Person Who Submitted
- Connect a mailbox first, so the reply comes from your own address.
- Tick Send a reply when someone submits the form, choose the mailbox, then pick a template or write a message.
- Personalise it with
{{first_name|there}},{{name}},{{company|your company}},{{email}}and{{phone}}. The text after|is used when the field is empty. - Each address gets at most one reply per list every 24 hours, and each list sends up to 100 replies a day. Replies are never sent to contacts you’ve suppressed.
Privacy and Consent on Website Forms
The hosted form doesn’t include a consent checkbox. Add a short line near your form explaining how you’ll use the details, with a link to your privacy policy. If you collect consent yourself, send it through the API as an extra field, such as "consentGiven": true, and it’s kept with the contact.
Troubleshooting a Website Form Connected to Yeevu Contacts
| Problem | Fix |
|---|---|
| “Form not found” | Tick Enable hosted page on the list’s Form / Landing Page tab and save, then check the list ID in your code. |
| Name, company or phone missing on the contact | Tick those fields on the Form tab. Fields that aren’t ticked are ignored. |
| Your own form does nothing | It must send JSON with JavaScript (see the example). A plain HTML form post won’t work. |
| Embedded HTML form says “Captcha required” | Turn off Require Cloudflare Turnstile, or use the frame or button instead. |
| No alert for a new sign-up | Tick Also when a new contact is added. Alerts go only for new contacts, not repeat sign-ups. |
| API returns 401 | The key is wrong or was rotated. Copy it again from Settings → API Keys. |
| API returns 404 “List not found” | The list_id isn’t one of your lists. Copy it from the list’s address bar. |
For more on building and emailing your lists, see the Yeevu guides.